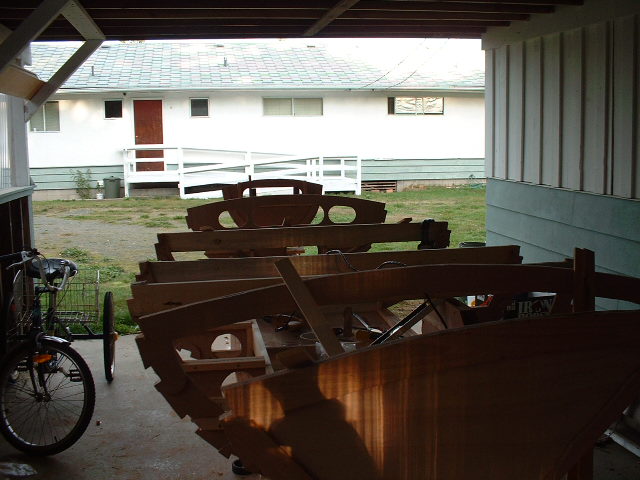
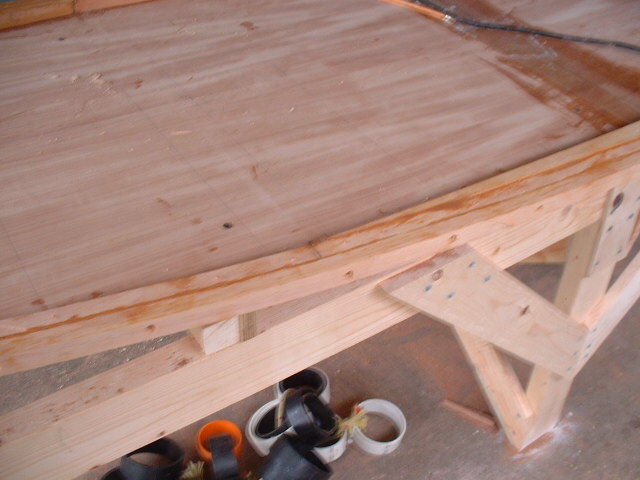
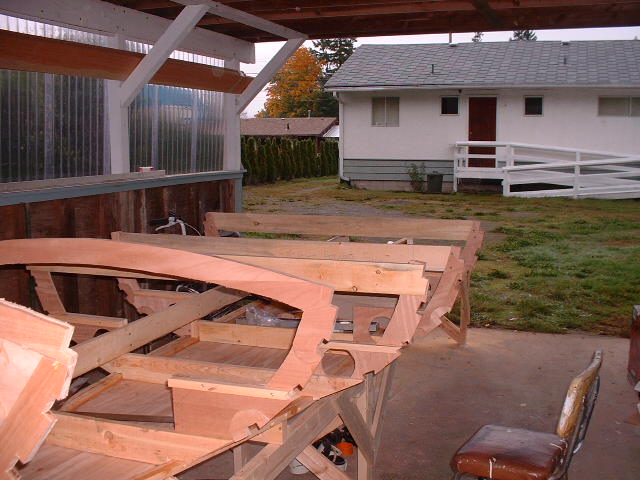
Tuesday, October 31, 2006

First of the planks


Seems like a few days since my last entry, yet I have made progress. It took me a couple of days to shape the stringer that is attached to the bottom of the boat. It needed to be bevelled to accept the first of the planks. That done, despite the cold spell we are having, I installed the first of the planks yesterday. Then to give the epoxy some chance of setting up, I covered the baot with a tarp and left a heat lamp glowing all night. Kept it above freezing, but I doubt the epoxy has had enough time to do its thing. On to other parts of the project instead
Yesterday I brought home the aluminum tubing to be used for the masts and yard, boom and sprit. Love all these names. I was not able to find the specified 1/16" wall tubing, so I bought 1/8" instead. Taking the pieces off the trailer, they felt awfully heavy and I worried they would make the boat top-heavy! The main mast felt like it must weigh about 30 pounds! But checking the specs on-line this morning show it weighs closer to 14!. So, I guess I won't worry about having a giant pendulum high above the deck!

Friday, October 27, 2006

Last Stringer is on


On advice from the designer, I ripped the bottom stringer into two square prisms to make the twist easier to accomplish. From the transom to the first bulkhead, the stringers went on very easily, then despite my best efforts, I coudn't make them twist to reach the stem to sit flat. So, I again beveled the woods to sit flat and glued them home. I then went back and glued strips of wood over the stringers at the bow with the idea of planing them back to vertical faces. I wonder if I had ripped the stringers vertically if they would have twisted easier. Oh well, done. After taking away some of the external supports and sweeping up, I took some pictures. I have fallen in love with the shape of the boat. I love the transom and the hull lines radiating from it!

Wednesday, October 25, 2006

Stringer # 3


Today I was able to install the third stringer, but it is harder again to get some twist in at the bow. Only about 30 cm between the bulkhead and the stem, not enough to make the nearly 45 degree twist. So, I let it run untwisted to the stem and secured it there.
The lines look really nice and I am generally pleased how the boat is coming together.

Tuesday, October 24, 2006

Second Stringer


Today's task was to install the kingplank, then work on the second stringer. The kingplank went on quite easily as all it required was some scribing and cutting. The second stringer was easier to install too, at least until it got close to the stem. There it had to do a fair bit of twisting to sit nicely in the notch of bulkhead #1 then sit flat on the face of the stem. I got more and more heroic in my efforts, even putting a length of redi-rod through the stringer to pull it in and bring it flat to the stem. No way it was going to go, so I re-cut the joint and screwed it in place with not enough twist. With the recut, the stringer ends a bit shy of the line I wanted, so I shall have to glue on some spacers. I see the twist is going to be even more severe in the lower stringers. I may have to resort to pouring boiling water on the boards to get them to twist, or to attach without the twist and grind the face back to match. Paste a mini-stringer behind if I think it will need the bracing.

Monday, October 23, 2006

Top stringer is on!


Today was tense, but the beautiful old-growth fir bent around the top of the boat without any scary noises! It took me awhile to shape the notches to hold this stringer, but once the board was in place, it didn't take long to get epoxy on and a handful of screws in place. It was so exciting to see the shape of the gunnel! I took a handful of pictures and think this one is the best!

Sunday, October 22, 2006

Saturday, October 21, 2006

All the bulkheads are in place


Just as the sun was thinking of taking a nap, I got the transom clamped in place! Scary moment as now I have to again go into the unknown and bend the fir stringers around the big curves of all the bulkheads! These are bent in the narrow dimension so I hope they go without too much stress! I took this picture because of the nice lines created by the stacked bulkheads.

Dagger board box


One of today's jobs was to assemble the box that the daggerboard slides through. The box was made of 9mm plywood on each side with spacers at each end to hold it all together and give it strength. Once all the pieces were coated with epoxy to seal them from the water, they were epoxied together then glued with a marine sealant into the hole I bravely cut into the floor of the boat! In this picture, the box is screwed into place between a couple of bulkheads. All you can see of the box is the top of it, dark brown, behind this bulkhead. After screwing and gluing it all into place, I noticed I have hidden the tops of a couple of screws holding on the temporary brace. Another 'whoops'

Bottom stringer


Once the bottom of the hull is cut out and sitting on the profiles to give it some shape, I was supposed to bend then screw and glue a strip of fir to the edge of it! I could not see how this strip of wood was going to bend in the wide dimension, so I ripped it to be two square strips of wood. First day of this aspect saw the first strip of wood get glued and screwed to the edge of the bottom panel. Once that epoxy was set, I attached the partner strip to the side of the first.

Creating Frames


I am using 9mm marine plywood for most of the work so far on this boat. After the bottom panel was cut out and the repair done to the joint, I went on to making the bulkheads and trimming them with reinforcing bits of plywood or strips of fir.
Became a bit of a juggle to hold the bulkheads upright while I tried to get some supports in place. Those bulkheads are now in place and braced. Happy to see that they are all vertical and lined up the way the plan said.

Today is October 21 and I have been at work for a couple of weeks on Walkabout. Took awhile to assemble the plywood and find clear Douglas fir. First step in the program was to make a frame to build on. That was easy but difficult to find a level place in my car port to build on. Second step was to join two sheets of marine plywood. First time I have done a scarf joint and the planing of the wood came outreasonably well, but I screwed up the glue-up! I had too much overlap and once the glue set, I had a ridge on each side. Damn.
I wrote to the designer and he advised me to plane down the ridges and reinforce the jont with fibreglass tape and epoxy on the interior side of the wood. Done!
Next job was to measure out and draw the shape of the bottom panel. I loved the precise nature of this work and the bottom panel came out very nicely! In this picture, I had to spread out some clothes to get some idea of the size of the project!

Opening Thoughts

I am hooked on boats, but have not yet found one to keep 'forever'. I love my double kayak and have taken it everywhere. I have had a series of sailboats too and currently sail a 19' Alacrity. Great boat for day sailing and has a decent little cabin custom made for lounging and camping.
But I want to do more shore exploring so have decided on Walkabout, designed by John Welsford: http://www.jwboatdesigns.co.nz/plans/walkabout/index.htm
This blog will be about the building of the boat and eventually the trips aboard. Gerry