Tuesday, November 21, 2006

Turtled

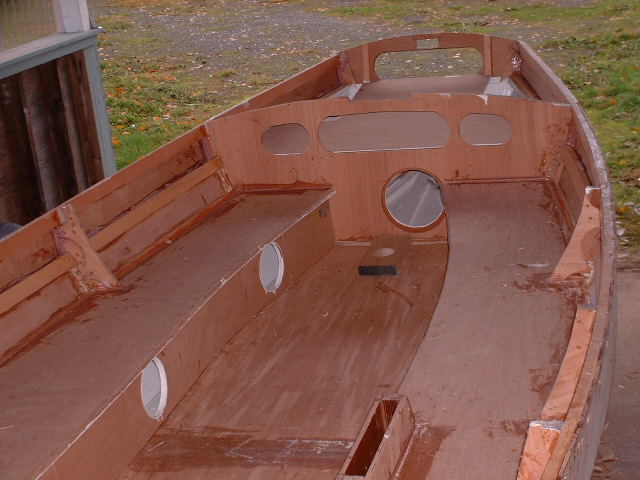
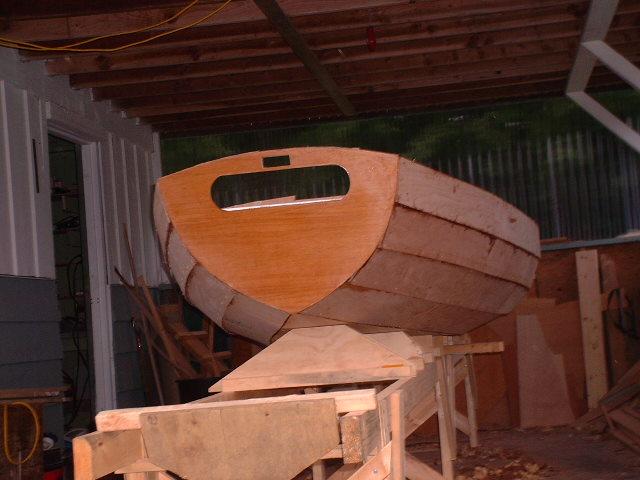
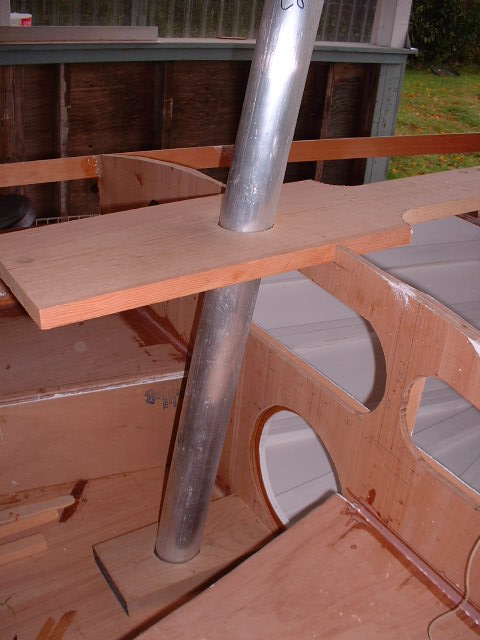
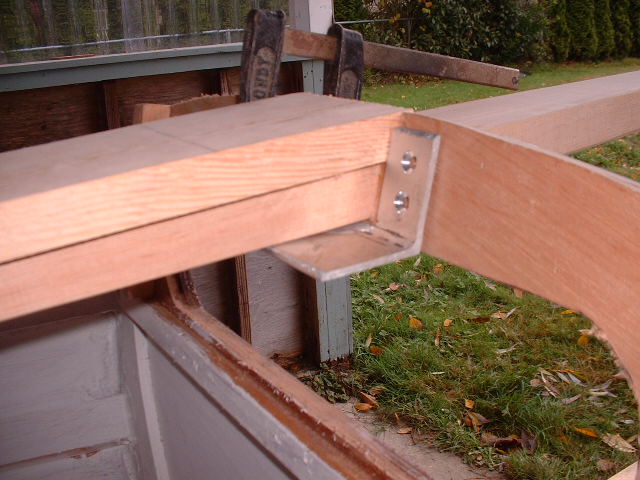
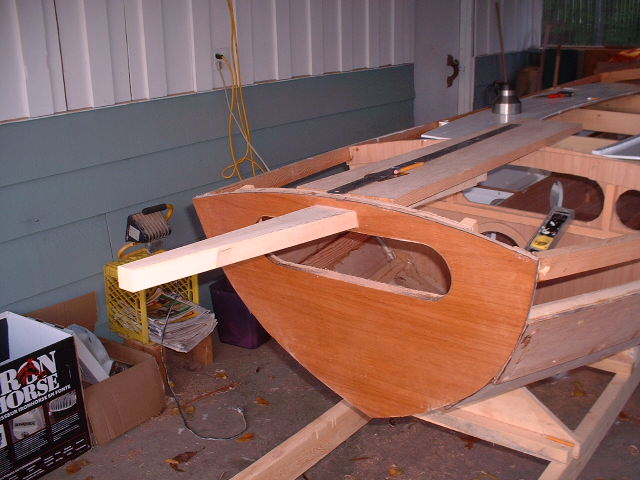
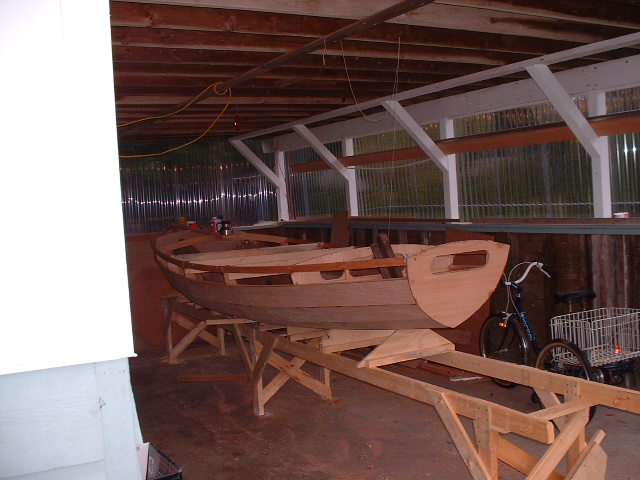
The boat had gone about as far as it could without turning upside down for the hole filling exercises on the outside of the hull. I have done the turn-over with the help of a couple of slings hanging from the car-port rafters. It was easy to lift up one end of the boat then tighten the sling below it. Once the boat was hanging in the slings, it was even easier to rotate it one-eighty. Sat it back down on the frame. I think the hole filling is tedious work and hardly worthy of pictures. Besides that, there are some gaps and weird cuts that I will not show until they are covered over and all can be amazed at my workmanship! While the boat is upside down, I shall attach the skeg . cover the bottom of the hull with fiberglas cloth in epoxy, pretty it all up then paint it! Lots of opportunities for pictures.

Saturday, November 18, 2006

Turning Point!


Friday turned out to be productive. Last thing I did yesterday was to cut out all the planks for the last installment! I recall someone on the web saying he used his Japanese pull-saw to cut out his planks, so I tried it and was most impressed. The jig-saw cuts very wobbly compared to this pull-saw and I was done in jig time too! This morning I cut in the lap joint at the bow then cleaned up the planks. Once they were all ready, I pre drilled the holes for the screws, mixed a few batches of epoxy and by 2:00 this afternoon all the planks were on!

I took my buddy to town to pick up some boat hardware then came back to take some pictures.

At the start of today's job, I had to take out the supports that were keeping the sides of the boat spread apart. They were in the way of today's planking. I was so taken with the look of the boat without any braces, I had to show that off too. Now she looks like a real boat!

I still do not have the rudder hardware installed nor the woodwork done in the aft compartment either. I am thinking I may leave it like that while the boat gets turned over. That would make it much easier to install the skeg on the underside of the boat by allowing me to shoot screws through the hull and it may make varnishing the transom easier too with it laying more horizontal. In any case, it will all get done.

Thursday, November 16, 2006


Short day on the project today as it seemed really chilly. The epoxy I poured yesterday was still soft to the fingernail this morning, so it is colder than normal.

Last thing yesterday, I used the big hole cutter to make a stack of pieces of one by four with two and a half inch holes in their centres. This morning I cut an angled base on that stack to make them into a jig to cut holes at an angle in the queen plank and the base for the mizzen mast. One of the above pictures shows that jig clamped on to the queen plank, just to give some indication of the creativity allowed in doing this kind of work! Easier to do it than explain.

The second picture of the set is the happy mast holder propped in place, using the perfectly angled holes in the plank and base. Once again, in case Canada Customs is reading this blog, I am waiting on the arrival of the gudgeons and pintles so this project can move ahead again in a logical fashion.

Last exercise of the day was the trimming and gluing of the pieces of wood to make the tiller/steering assembly. That piece is under the clamps for the next hours, so pictures will be delayed.

Wednesday, November 15, 2006

Big Weather Day

Huge storm today! High winds and buckets of rain. I couldn't pull the boat any further into the carport to protect it either. I was late getting to work but managed to get a few things done. I put a coat of paint in the buoyancy tanks at the front and rear of the boat. Two more coats and they are ready to seal in too! The rear tank is waiting for the arrival of the rudder hardware, so by the time the painting is ready to cover over, the fittings for the rudder will be here and installed too.
I epoxied and nailed down the bench tops at the sides of the boat. Making sure the joints were very well sealed as those cavities make flotation tanks. Seeing as I had the epoxy mixed, I glued and screwed the mast step that was pictured a day or so ago. Enough epoxy left over to put together the boomkin brace on the underside of the queen plank. The combination of fading light and epoxied smeared hands encouraged me to wait until tomorrow to take any new pictures.

Tuesday, November 14, 2006

Tuesday November 14


It was very cold in the boat-works this morning, so I decided to forego any work with the epoxy. The paint I put on yesterday was still tacky in places too. I put primer in the big compartments at the bow and stern of the boat then puttered on fixing yesterday's problem with the small amount of wood between the queen plank and the boomkin. I found a section of angled aluminum, cut it to fit and have predrilled some holes for screws. I shall epoxy it in place below the boomkin and that should protect that remaining sliver of wood. The queen plank is now ready to glue in place too. I have cut it to size and have prepared the mounting bracket for the boomkin on its underside. If you don't understand, wait until tomorrow's pictures.

Monday, November 13, 2006

Small Triumphs


Today was a short workday, but I had fun and made some progress too. First thing was to clean up the mast step I made up Sunday then check to see it fit exactly where I wanted it - directly under the hole that the mast slides through in the deck. I put a couple of strips of tape on the diagonals of the square hole in the step and found that they intersected right under the plumb!
Second job was to clean up the pieces of wood I laminated together yesterday to make the boomkin. Some scraping and planing, then it was cut to shape too. I measured where it is supposed to fit in the transom to find that big elliptical(?) hole I cut in the transom to carry the rudder lines is made too tall, coming dangerously close to the underside of the boomkin! Once the boomkin hole was cut, there was very little material left between the two holes! I am not able to make the boomkin any less thick, so I shall make up a brace to keep the boomkin in its place with no danger of it breaking through to the hole below. Final thing of the day was to put on the last coat of paint in the buoyancy tanks. If it is dry by tomorrow, I shall glue the lids on those tanks, and they will have seen the last light of day! I think I will have to write my name inside those tanks, along with the date! Those people who have my e-mail address are invited to add any significant poetry to go in this floating time capsule!

Sunday, November 12, 2006

Handsome Transom


Today, I thought I had better get some epoxy on the transom as tomorrow or the next day, the hardware for the rudder will arrive and want a finished transom to attach to. I mixed up the epoxy then applied it with a brush, only to find it turned to thick honey consistency! The more I worked it to thin it out, the milkier it got too. I finally left it alone, thinking my plans for a clear-finished transom were not going to happen. Awhile later, I thought I may as well add some heat to see if it could be saved. So, the picture on the bottom is under the heat lamp and the epoxy looks creamy. Later in the morning, I took the top picture and voila, it had turned clear with the heat. Not smooth, by any means, but at least clear. I can sand the epoxy then bring out the shine again with varnish.

Saturday, November 11, 2006

Remembrance Day

Today was a "Round Tuit" day. I did all those little jobs that I have been putting off to a day when I have the time. Nothing to take a picture of, but I cut a bunch of strips of wood to be laminated up to make the dagger board, another set of strips to make up the boomkin and a few chunks of maple to make the steps for the main and mizzen masts. I also put the first coat of oil-based paint in the buoyancy tanks and made up a flat panel that fits in a rear buoyancy compartment. Hard to describe, so come back in a day or two and there will be a picture. I have resigned myself to the fact that the outside of the hull will have a coat of epoxy as the barrier coat. There will be a lot of epoxy filler over the counter-sunk screws, the high abrasion areas and trying to hide my errors, so I may as well continue with the epoxy and coat the entire hull. Reminds me that I sanded the transom today too, ready for a coat of clear epoxy tomorrow. Seems the project used to be one step at a time, but now there are many branches that are calling out for me. I am afraid I may make progress in one area that will compromise another. Have to keep coming back to the instructions.

Thursday, November 09, 2006

Third Plank


This morning I finished cutting out the third planks and made sure the bottom edges were fairly regular. Another couple of hours and the planks were glued in place with about a quarter pound of stainless screws! I then glued the frames to the new planks. About this time, my buddy Miles appeared to paint the insides of the buoyancy tanks. I am now free to work on the steering system and the holders for the masts.
I think I am losing energy, so will spend less time on the project for the next few weeks and see if my interest picks up again. I do not have any idea of how many hours I have put into this boat so far. I started early October and put in at least five hours a day - I guess that would be about 160 hours. One of the best parts of the project is to dream up solutions for some of the situations that the designer didn't explain, or problems that I have created by not following the plans exactly from the beginning.

Tuesday, November 07, 2006

Flotation Tanks


After the second plank was on, I framed the benches on each side of the center footwell. Those benches are closed flotation tanks with deck plates on the fronts. With those plates, I can use the tanks for dry storage as well as open them when the boat is on land to allow the tanks to dry out. If they are sealed, you'd think they wouldn't need to dry out! Maybe they sweat? Today, I finished making the tops of the benches and have everything ready to paint the interior of the tanks. In a couple of days, the tanks will be ready to glue together and epoxy seal the edges. While that is happening, I can move on to making the third plank and gluing that in place.

Thursday, November 02, 2006

Second Plank


I thought installing the second plank was going to be very easy. The marking the plywood turned out to be a challenge. I know how important it is for the bottom edge to be a nice regular line, so I decided to use the top edge of the stringer to mark the plank. That would be the stringer that the bottom edge will be attached to, so why not follow the contour? But the angle of the two planks meeting changes as I got closer to the bow of the boat. So, I had a terrible time deciding where to make the bottom edge of that second plank. Took me three attempts, but finally I have my nice line and the boat now has the second planks on too. The weather has warmed up enough that the epoxy will set overnight without extra heat. No matter as the next phase is inside the boat where the benches get installed.